Summary
Locales allow you to define translations for product names in multiple languages. Locales are attached to invoice templates so that the translations are presented on the invoice when it is sent to an account billing contact.
This guide covers how to configure a new locale for Germany and how to add translated text for product names so that products can be displayed in German on invoices.
Prerequisites
Locale can be setup immediately, there are no prerequisite configuration steps
Sample Configuration
Adding a New Locale
Log into the LogiSense Billing application
Click on the Setup menu, User & Accounts and then Owners
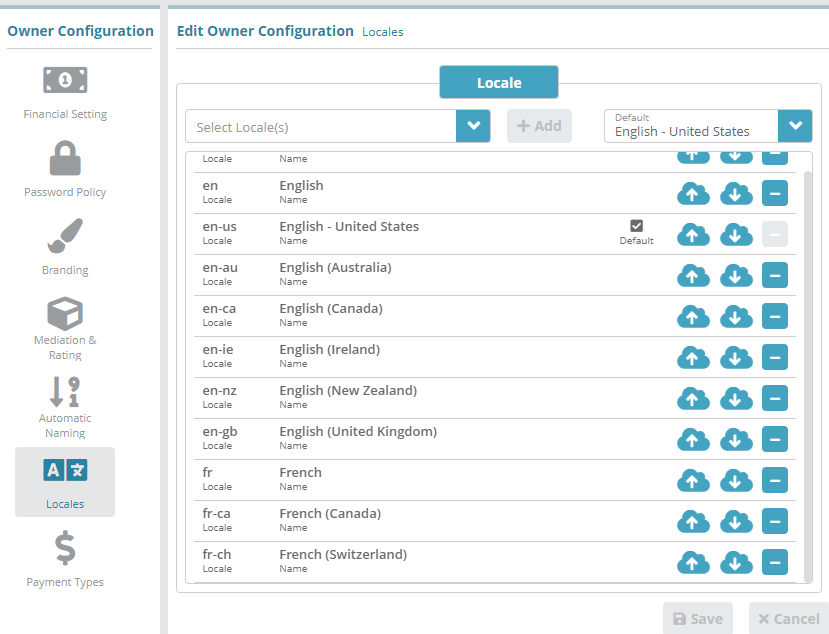
On the owner screen that loads click on the Locales tab on the left
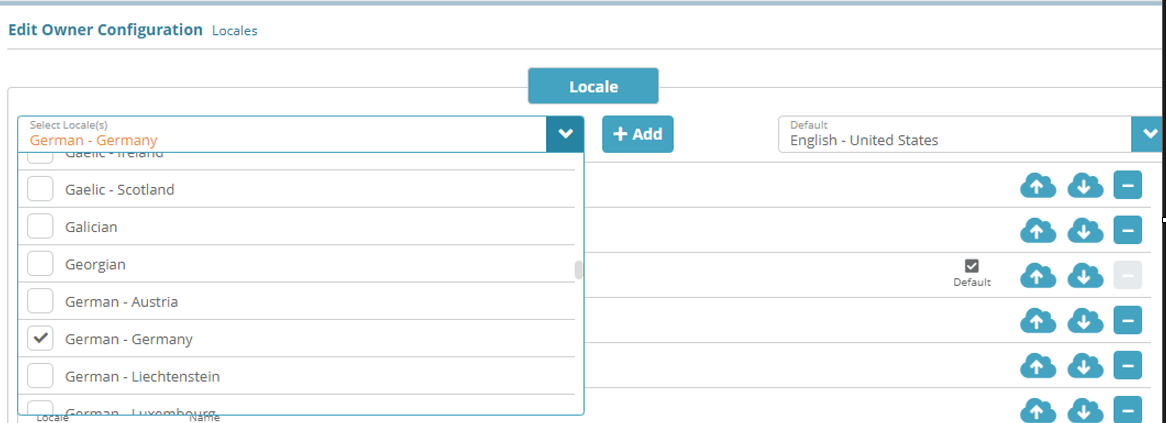
Select the locale to be added from drop-down list, in this example we are going to select Germany
Click on +Add button
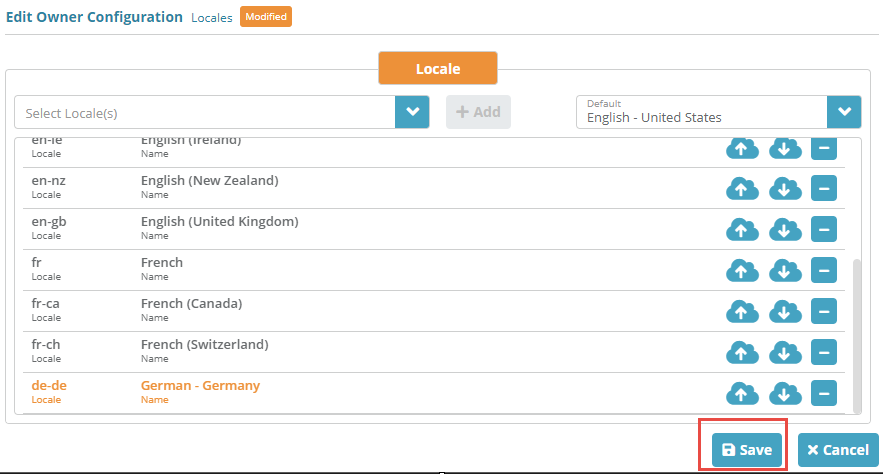
The new locale will appear in the list of existing locales highlighted in a different color as below. Click on Save button to save the locale configuration
Configuring Product Name Translations
On the Locales screen click the
 icon to download the csv file for the Germany locale
Edit the csv file in google sheets or notepad to add translation for package and service name in column I
Note: opening and editing the csv in Microsoft Excel is not currently supportedWhen you have finished adding translations click the
 icon to next to the Germany locale to upload the edited csv file
Result
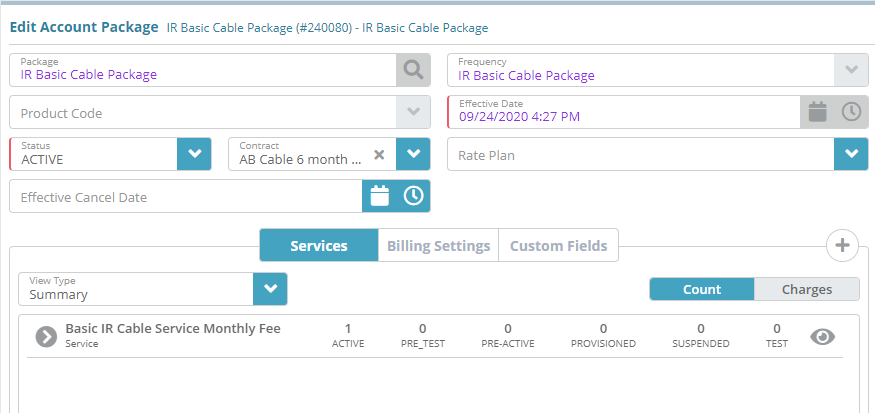
For accounts that are configured with invoice settings with the Germany locale, the translated text will appear in the service charges section. Below the package name ‘Basic IR Cable Service Monthly Fee’ is translated on the invoice.
Account / Profile / Packages
Account / Billing / Invoices / Download Invoice
The service appears with translated text as configured in locale configuration as below:
Next Steps
Owner Configuration Optional Steps:
Optional: if you wish to define custom payment types you can do so now or at a later date. See the Payment Types Configuration Example for instructions on how to add a payment type
Optional: if you need to integrate the LogiSense Billing application with an external payment gateway you can do so now or at a later time. See the Payment Gateway Example for instructions on how to configure a gateway
SMTP Settings Optional Steps:
Optional: SMTP settings allow the system to send emails. New users cannot be emailed with a link to setup their passwords until SMTP settings are configured. This step does not need to be completed until you are ready to setup new users. See the SMTP Settings Configuration Example for instructions on how to setup and test SMTP Settings
Users and Roles Optional Steps:
Optional: Users and roles define who can access the system and what they can access. See the Role Group Configuration Example article as a starting point for setting up users and roles
Account Settings Required Steps:
Account types, statuses and contacts need to be configured before proceeding to other required steps. See the Account Types Configuration Example article to start setting up the required account settings


