Summary
Payment Gateways are used to process manual and automatic payments for the payment types that the gateway supports (credit cards, ACH).
This guide will provide an example on how to add the Authorize.Net payment gateway in the LogiSense Billing application.
Prerequisites
Spreedly keys are setup in the AWS SSM Parameter Store with the required configuration. This step is completed by the LogiSense Deployment Team
You will need to know the authentication details for your payment gateway before you can configure the gateway in the LogiSense Billing application
Sample Configuration
Configuring the Payment Gateway
Log into the LogiSense Billing application
Click on the Setup menu, User & Accounts and then Owners
On the owner screen that loads click on the Payment Gateway tab in the upper right
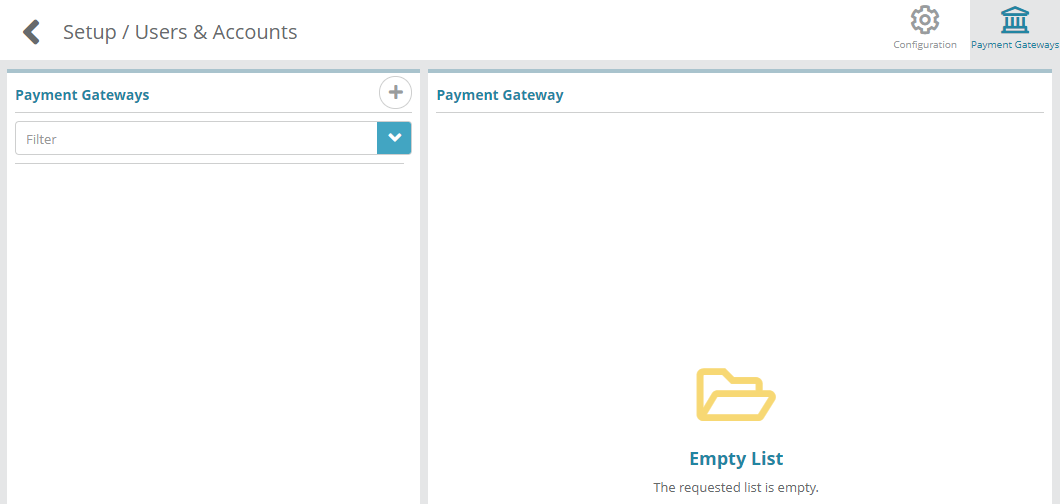
Under the Payment Gateways panel click the
 to add a new payment gateway
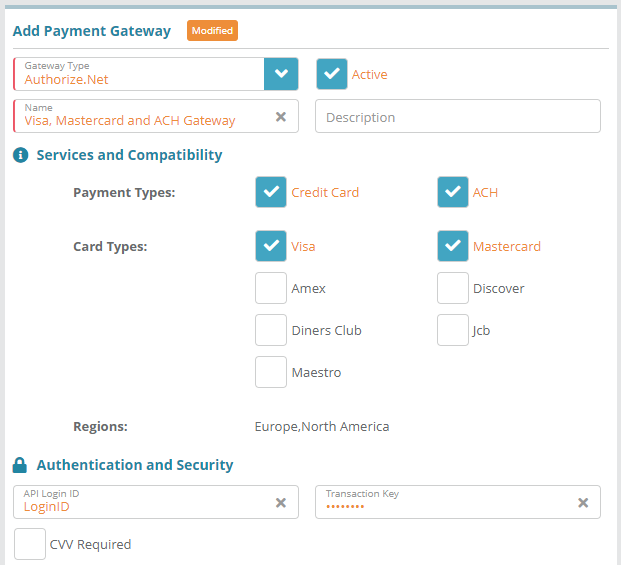
 When you select a gateway type additional fields will appear. In this example we will select Authorize.Net as the gateway. Here we will configure the gateway as active and setup to process payments for ACH and Credit Cards, specifically for the Visa and Mastercard card types (shown below)
Click Save to add the gateway
Note: authentication details will no longer be displayed for the gateway once it is saved
Adding Payment Methods and Making Payments on Accounts
If you have configured your system to the point where accounts can be setup you can test adding payment methods to accounts and making payments. See the Account Payment Methods article for details.
If you have not completed the base system configuration steps see the ‘Next Steps’ section below to continue with setting up the required system elements.
Next Steps
SMTP Settings Optional Steps:
Optional: SMTP settings allow the system to send emails. New users cannot be emailed with a link to setup their passwords until SMTP settings are configured. This step does not need to be completed until you are ready to setup new users. See the SMTP Settings Configuration Example for instructions on how to setup and test SMTP Settings
Users and Roles Optional Steps:
Optional: Users and roles define who can access the system and what they can access. See the Role Group Configuration Example article as a starting point for setting up users and roles
Account Settings Required Steps:
Account types, statuses and contacts need to be configured before proceeding to other required steps. See the Account Types Configuration Example article to start setting up the required account settings


