...
Access the Okta admin portal
Access the Application you setup for the LogiSense Billing integration
Click on the General link
Under the App Settings section click Edit
Check the option Enable SCIM provisioning
Click Save
Once the change is saved a new Provisioning link will appear under the application where SCIM settings can be populated
Click on Provisioning
On the Provisioning Settings page click Edit
In the SCIM connector base URL field enter the domain of your LogiSense Billing system followed by /ResourceServer/api/SCIM
In the Unique identifier field for users field enter your Okta supplied identifier
In the Supported provisioning actions section enable Push New Users, Push Profile Updates and Push Groups
Change the Authentication Mode to HTTP Header authentication
Under the HTTP Header section in the Bearer field paste the SCIM Access Token you copied earlier from the SAML Settings in the LogiSense Billing application
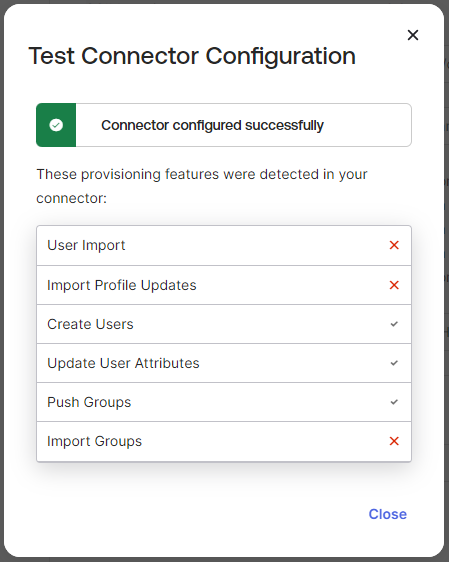
Click Test Connector Configuration
On the pop-up that appears the test should show that the testing of the create, update and push functions worked
Close the Test Connector Configuration pop-up and Click Save
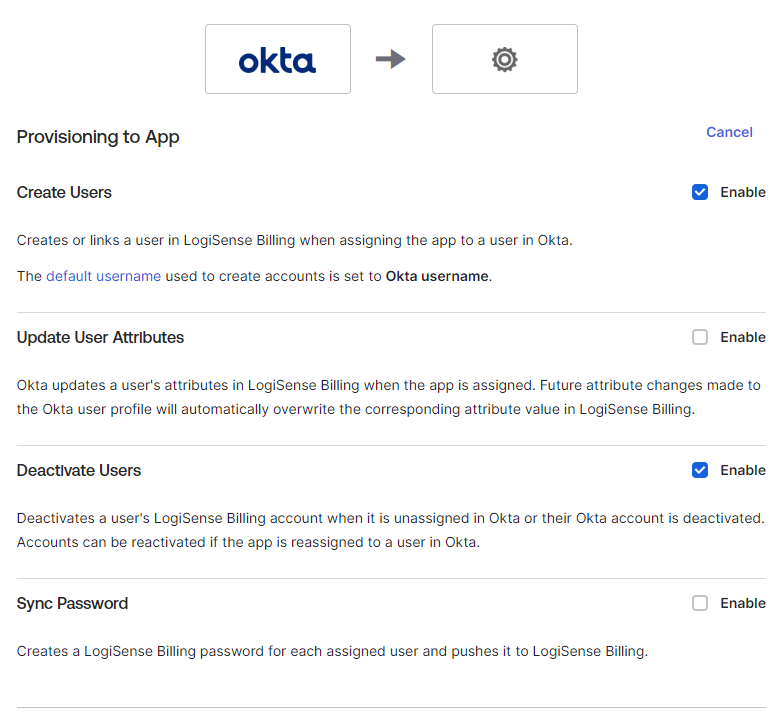
Next we need to grant Okta user management permissions in LogiSense Billing. On the Provisioning page click the Edit link
Next to Create Users click Enable
Next to Deactivate Users click Enable
Click Save
Configure Application Permissions in Okta
This step will configure Okta users to access LogiSense Billing
The steps below will assign Okta people and push groups to the Okta Application (i.e. LogiSense Billing). People assigned to the Application in Okta will be created as users in LogiSense Billing. Groups pushed from the Okta Application will define the permissions that the users under that group will have in the LogiSense Billing application (i.e. pushing groups in Okta will create role groups in LogiSense Billing).
Assigning People / Creating LogiSense Users in Okta
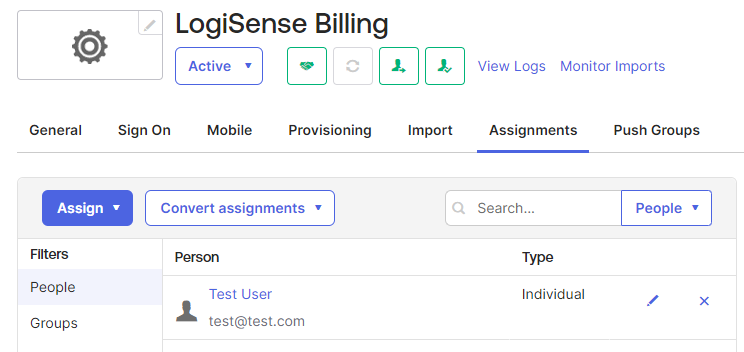
On the Application page click on Assignments
On the Assignments page click the Assign button
You will be presented with two options, Assign to People and Assign to Groups, you can select whichever option you desire (e.g. assign people who will be setup as users in LogiSense Billing or assign groups that will be setup as role groups in LogiSense Billing). Select Assign People
Click Assign next to the person or group
On the Assign pop-up that appears leave the values as is and select Save and Go Back
Assign additional people /groups as needed, when finished click the Done button
The users or groups you added should be listed and created in LogiSense Billing
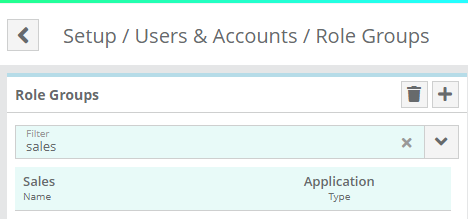
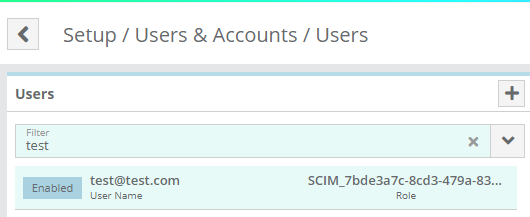
You can verify that the user/group was created in LogiSense Billing on the Setup / Users & Accounts / Users screen and Role Groups screen
By default the user created will have read only permissions (as shown in the image above). To grant a user permissions they will need to first be assigned to a group in Okta and then their group must be pushed to LogiSense Billing. See the steps below for instructions.
Pushing Groups in Okta / Creating LogiSense Role Groups
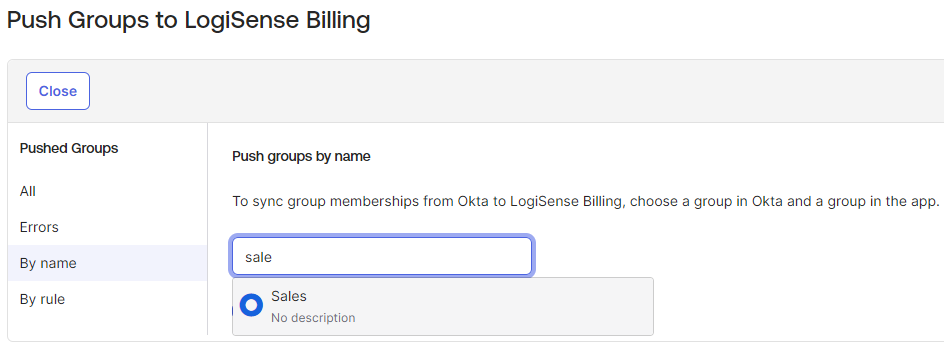
On the LogiSense Application page in the Okta Portal click on Push Groups
Click the Push Groups button and then select an option to find a group
After a Okta group has been selected click Save
The Role Group will now be created in LogiSense Billing
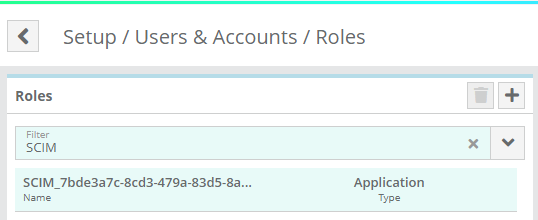
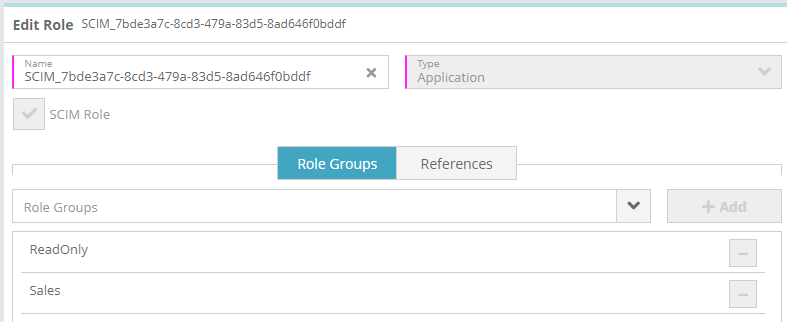
In the Okta portal if you assign people setup under the LogiSense Application to a group that has been pushed to LogiSense Billing then the corresponding user’s role in LogiSense Billing will be updated to show a SCIM role (i.e. the user will have the permissions setup for the role groups that are attached to that role)
Repeat the steps above to push more groups to LogiSense Billing
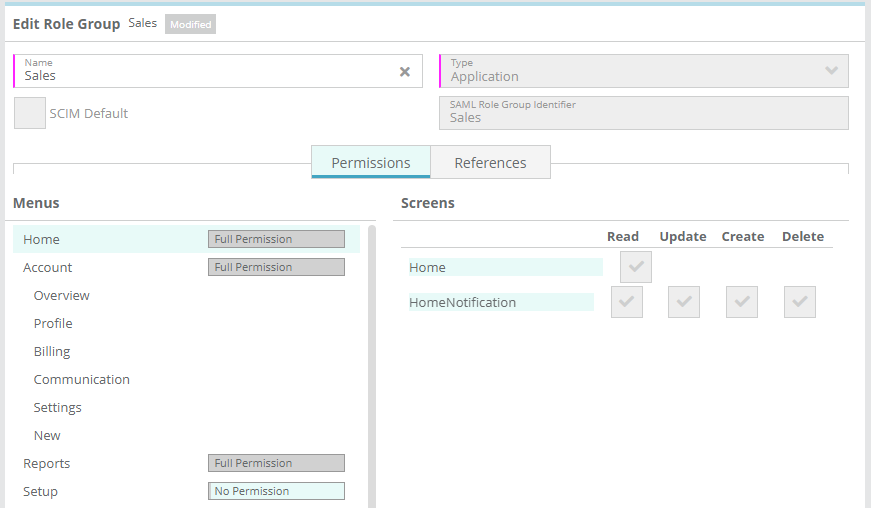
You can now configure the permissions for the role groups that you have pushed to LogiSense Billing in order to define what Okta users in those groups can do in LogiSense Billing
Login to Test SSO
...
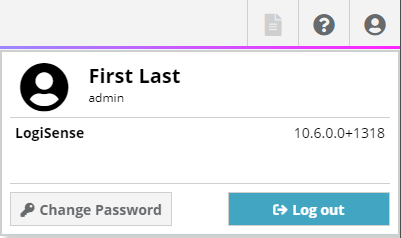
Log out of LogiSense Billing
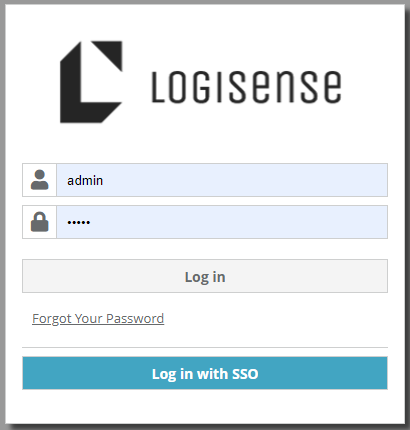
On the Login page a new Log in with SSO option will be available
Click on Log in with SSO
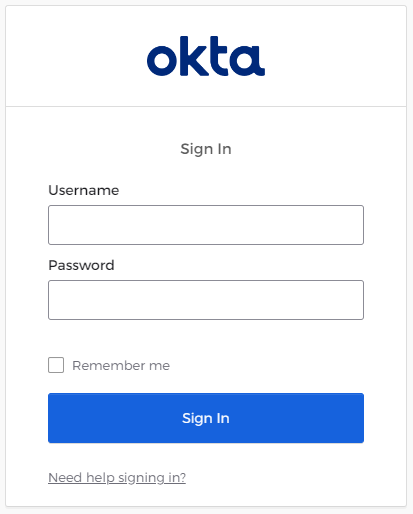
You will be redirected to the Okta login page
Enter your Okta username and password and click Sign In
After entering valid login Okta credentials you will be directed to the LogiSense Billing application and logged in
The signed in user will now be able to view/modify all of the screens in LogiSense Billing that their role group configuration permits them to access.


