Summary
This guide covers the process of creating basic invoice template configuration in the LogiSense Billing and sample layout design for logo and invoice summary page. LogiSense Billing utilizes Microsoft Word and mail merge to generate invoice templates.
Contents
Prerequisites
Microsoft Word is required for invoice layout design.
Invoice tokens (invoice variables) are available e.g. download “Field Tagger” from sample invoice template available in system by default.
Sample Configuration
Create invoice layout in Word document
1. Open up Microsoft Word
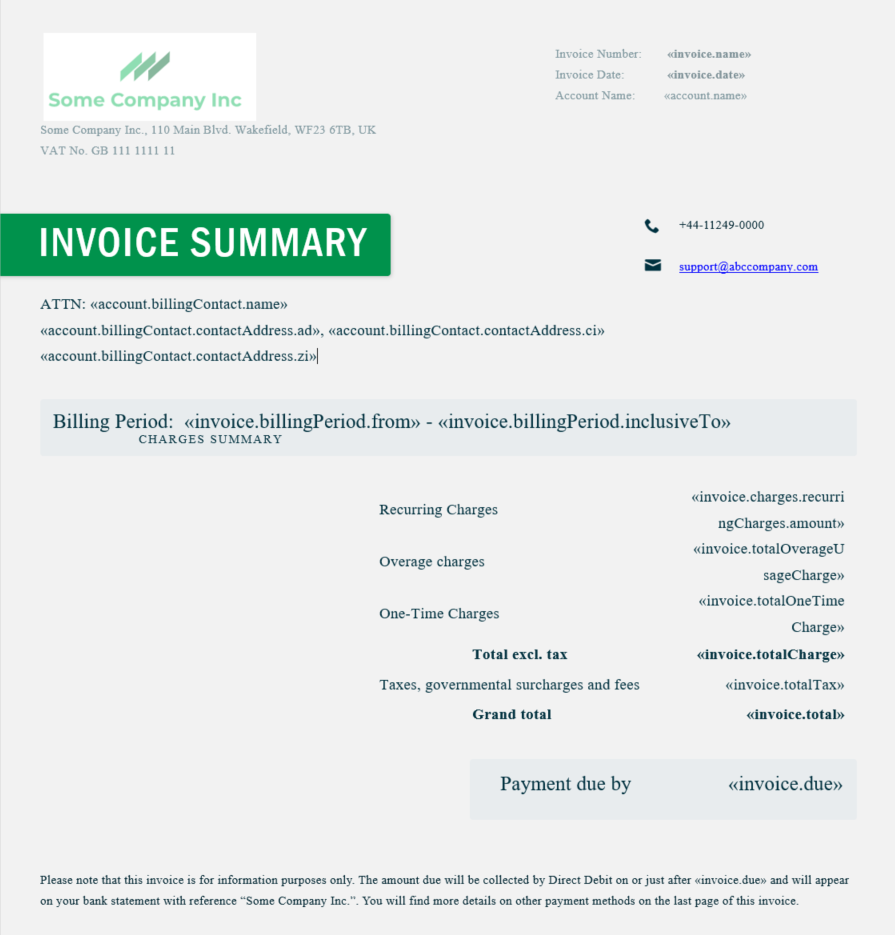
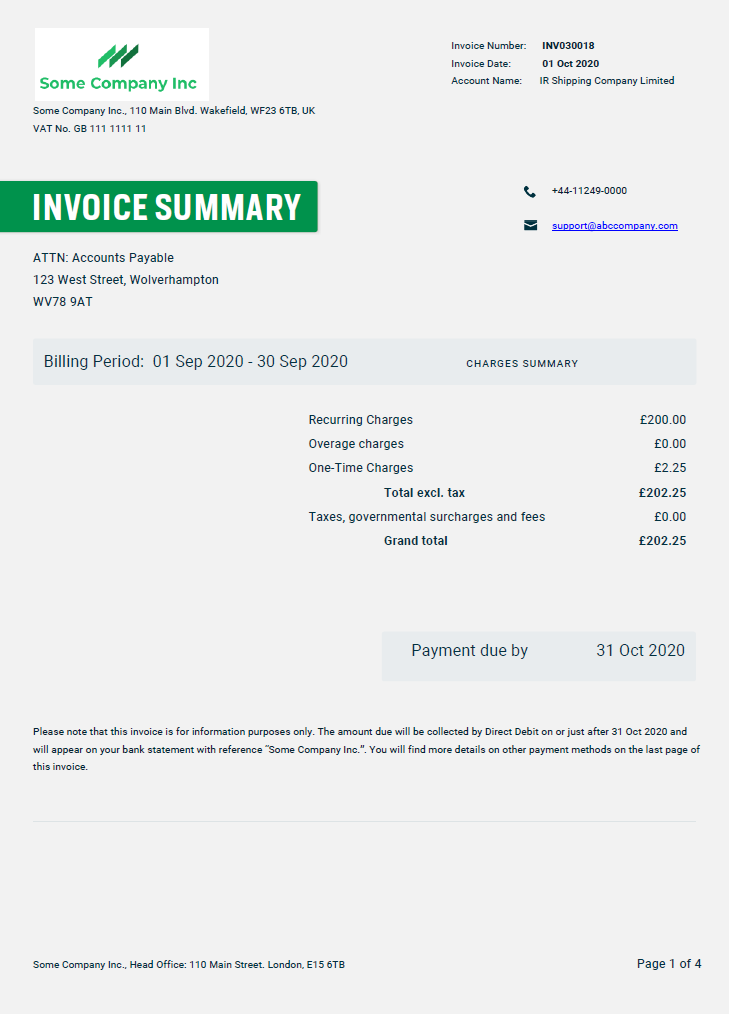
2. Design the summary page as below.
2a. Add information in header e.g. logo, company address, basic invoice information like “Invoice Number” etc.
2b. Add headings, support contact, billing contact information, charges summary, total amount etc.
2c. Add company head office address in footer
2d. Update values for merge fields with token values (steps included after template sample below)
Update invoice tokens
Sample => Update variable for billing contact name after the static text ATTN
1. Navigate to relevant section of the document and click on CTRL+F9
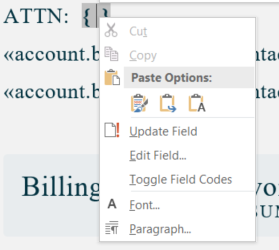
A set of curly braces will appear as indicated in snapshot above highlighted in red box.
2. Right-click within the curly braces, following options will appear on the screen.
3. Click on “Edit Field…”
3a. Select “MergeField” from “Field names:” list
3b. Paste account.billingContact.name in the Field name under “Field properties”
3c. Click OK
The token will be added in the document as below:
4. Update all invoice tokens in a similar manner.
Add Invoice Template in billing
1. Log into your Logisense Billing application
2. Click on the “Setup” menu and then click on “Extensibility”
3. Click the “+” button to add new Invoice template
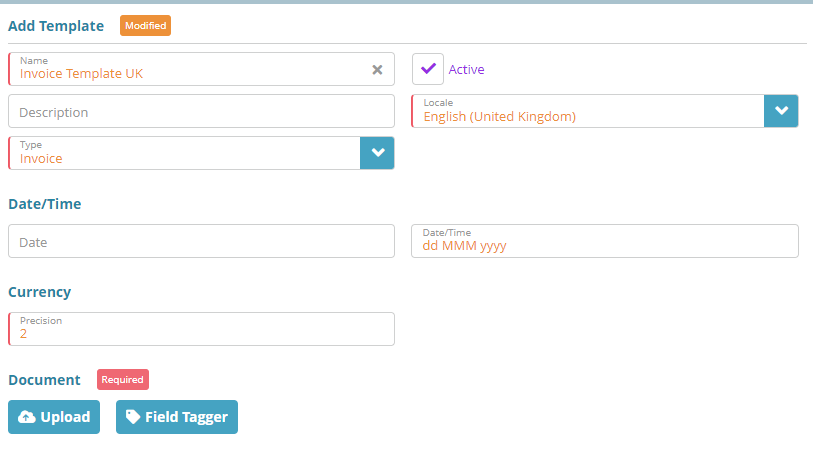
4. Fill out configuration details (refer to sample below)
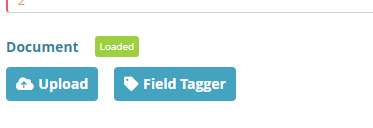
5. Upload the Microsoft Word invoice template document by clicking on “Upload” button and selecting the applicable file from PC folder.
6. Click “Save” to save the invoice template configuration.
Result
The invoice summary page will appear as below after billing of account.
Next Steps
<<documentation team task: link to next configuration article>>
Related Guides
<<documentation team task: link to API guide which covers the same config process>>
<<documentation team task: link to Data Import guide which covers the same config process>>
