The guide below details how to setup a single sign-on integration in the LogiSense Billing application. Both Azure AD and Okta integrations are covered in this guide.
Guides in this article:
Okta Configuration Process
Setup a new Application in the Okta Admin Portal
The fist step is to create an application in the Okta portal for the LogiSense Billing integration.
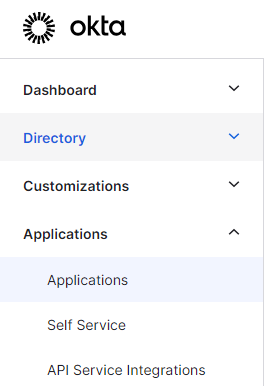
On the left hand side click on Applications to show the sub menus
On the Applications sub menu click Create App Integration
On the Create New App Integration pop-up select SAML 2.0 and click Next
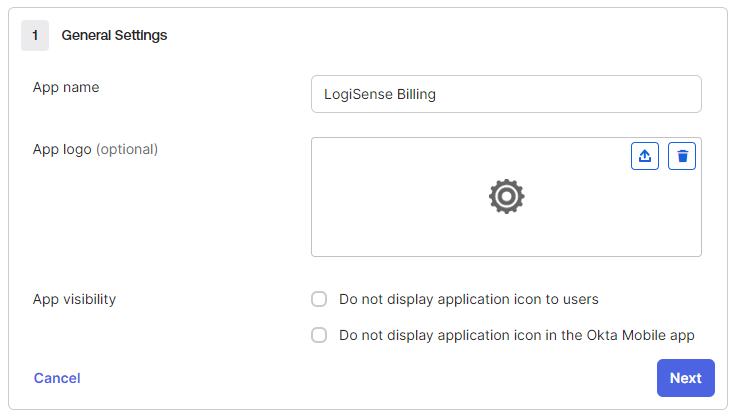
On the Create SAML Integration page enter an application name (for instance, LogiSense Billing) and click Next
Enter the Single sign-on URL. This will be the URL used to access your LogiSense Billing instance plus the path to the AuthorizationServer ( /AuthorizationServer/Saml2/ACS )
Enter the Audience URI (this will be the same domain name as above, but without the AuthorizationServer… details)
All other settings can be left as default, at the bottom of the page click Next
On the following page select I'm an Okta customer adding an internal app option and then the This is an internal app that we have created option and click Finish
Capture SAML Certificate Details in Okta
Next certain details are required from the Okta application data in order to configure SAML settings in the LogiSense Billing application. You can copy these details into notepad or any text editor.
On the application page that loads scroll down to the SAML Signing Certificates section
Next to the SHA-2 cert click on Actions and then View IdP metadata
On the metadata page that loads copy the URL of that page (e.g. https://dev-xxxxxxxx.okta.com/app/exkaffbk7gT0TrGxi8d7/sso/saml/metadata) and copy the value within that page on the very first line called entityID
Configure the SAML Settings in LogiSense Billing
Login to LogiSense Billing
Load the Setup / Users & Accounts / Owners screen
Under Owner Configuration click on SAML Setting
Click Enabled if it is not already selected
In the Entity ID field paste in the entity id from the metadata (just the URL without quotes)
In the Provider Metadata URL field paste in the metadata URL you previously copied
Click the Get Token button and a token will be generated
Copy the SCIM Access Token that is generated (this will be needed as part of the SCIM Configuration below)
Click Save to save the SAML settings
Configure SCIM to Manage Users in Okta
Access the Okta admin portal
Access the Application you setup for the LogiSense Billing integration
Click on the General link
Under the App Settings section click Edit
Check the option Enable SCIM provisioning
Click Save
Once the change is saved a new Provisioning link will appear under the application where SCIM settings can be populated
Click on Provisioning
On the Provisioning Settings page click Edit
In the SCIM connector base URL field enter the domain of your LogiSense Billing system followed by /ResourceServer/api/SCIM
In the Unique identifier field for users field enter your Okta supplied identifier
In the Supported provisioning actions section enable Push New Users, Push Profile Updates and Push Groups
Change the Authentication Mode to HTTP Header authentication
Under the HTTP Header section in the Bearer field paste the SCIM Access Token you copied earlier from the SAML Settings in the LogiSense Billing application
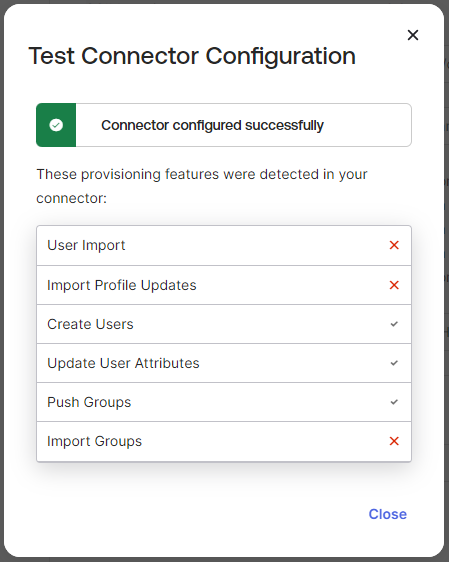
Click Test Connector Configuration
On the pop-up that appears the test should show that the testing of the create, update and push functions worked
Close the Test Connector Configuration pop-up and Click Save
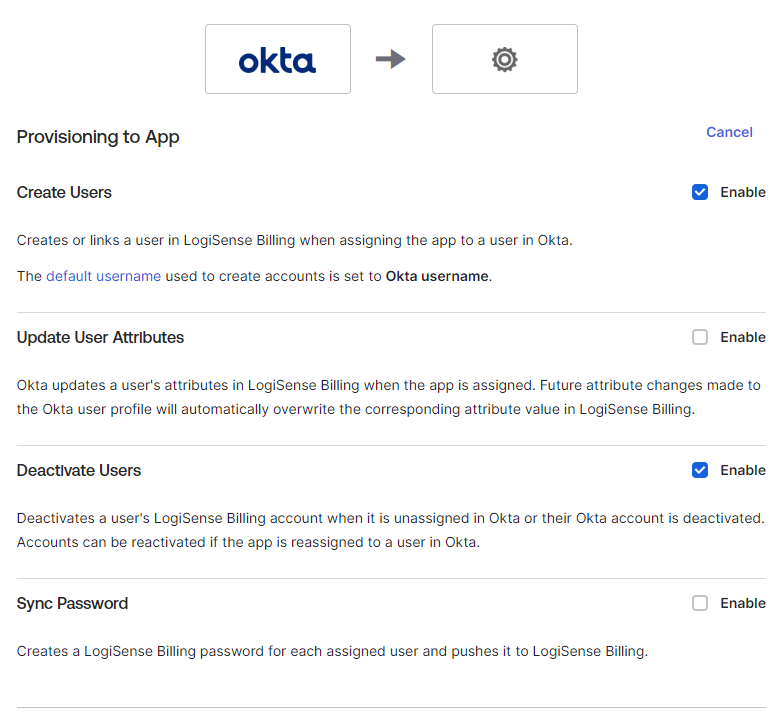
Next, we need to grant Okta user management permissions in LogiSense Billing. On the Provisioning page click the Edit link
Next to Create Users click Enable
Next to Deactivate Users click Enable
Click Save
Configure a SCIM Role Group in LogiSense Billing
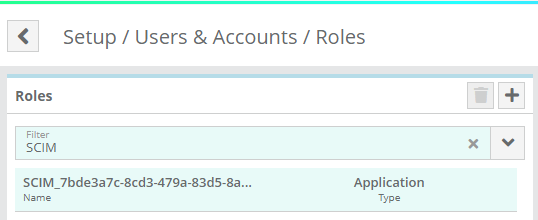
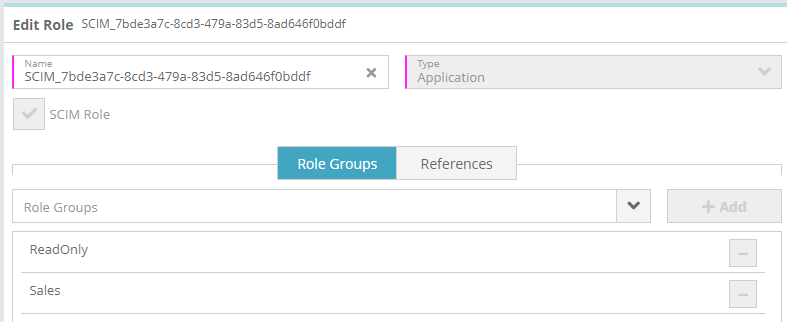
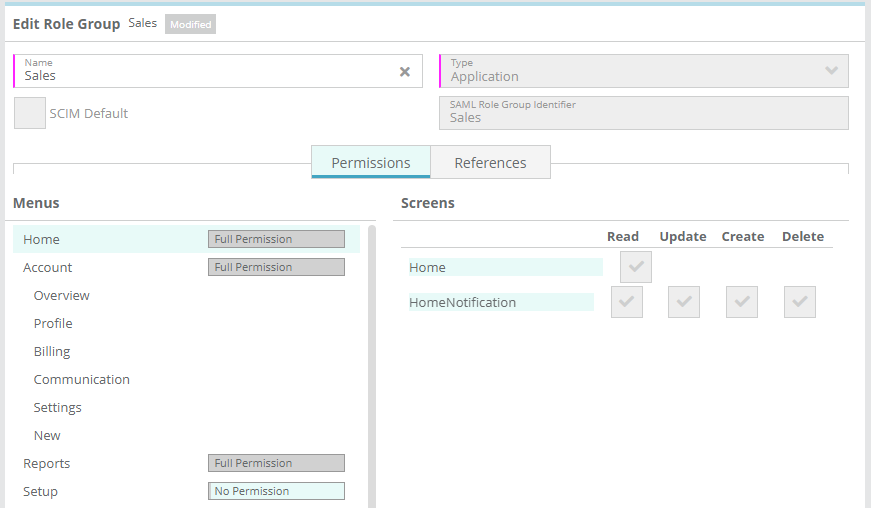
When people are assigned to the Application in Okta they will be pushed (created) in LogiSense Billing as users. The role group that the user is assigned to determine their permissions is the ‘SCIM Default’ role group (shown below).
The preconfigured SCIM Default role group in LogiSense Billing is the ‘ReadOnly’ role group. This is a core role group that grants the user read only access to all menus and screens but no rights to modify anything. SCIM users in LogiSense billing cannot have role groups deleted from their roles, so if you wish to restrict what menus and screens SCIM users can see you will need to create a new role group set with the SCIM Default option. This new role group can be setup with minimum permissions (e.g. read only access to the home screen) and then additional role groups can be assigned to the user to impart additional rights (e.g. an accounting role group can be added to the user granting read/edit access to accounts and reports).
Groups setup in Okta and pushed will create SCIM role groups in LogiSense Billing, so there is no need to setup additional role groups beyond the SCIM Default role group in LogiSense Billing. Instructions on how to push groups from Okta to LogiSense Billing are covered below in this guide.
Configure Application Permissions in Okta
The steps below will assign Okta people and push groups to the Okta Application (i.e. LogiSense Billing). People assigned to the Application in Okta will be created as users in LogiSense Billing. Groups pushed from the Okta Application will define the permissions that the users under that group will have in the LogiSense Billing application (i.e. pushing groups in Okta will create role groups in LogiSense Billing).
Assigning People / Creating LogiSense Users From Okta
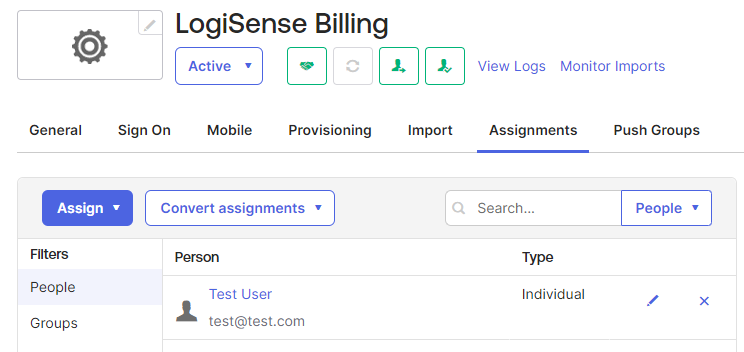
On the Application page click on Assignments
On the Assignments page click the Assign button
You will be presented with two options, Assign to People and Assign to Groups. Select Assign People
Click Assign next to the person
On the Assign pop-up that appears leave the values as is and select Save and Go Back
Assign additional people as needed, when finished click the Done button
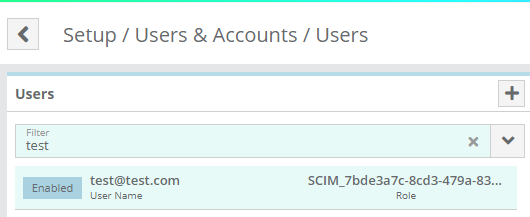
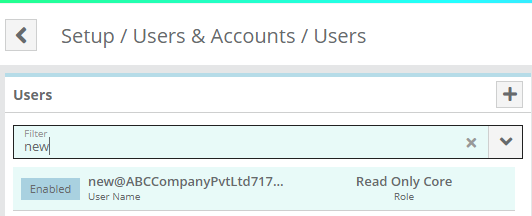
The users you added should be listed in LogiSense Billing
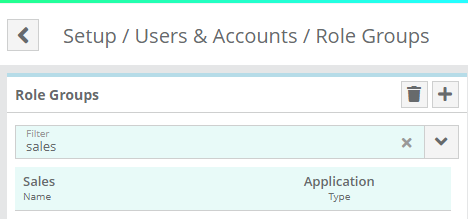
You can verify that the user/group was created in LogiSense Billing on the Setup / Users & Accounts / Users screen and Role Groups screen
To grant a user additional permissions they will need to first be assigned to a group in Okta and then their group must be pushed to LogiSense Billing. See the steps below for instructions.
Pushing Groups in Okta / Creating LogiSense Role Groups
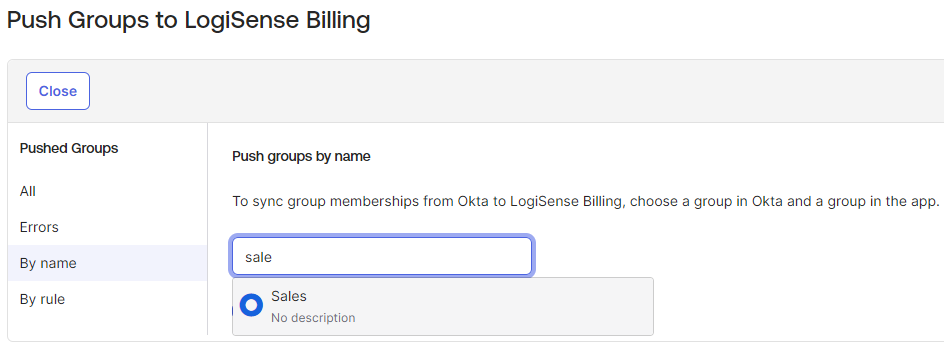
On the LogiSense Application page in the Okta Portal click on Push Groups
Click the Push Groups button and then select an option to find a group
After an Okta group has been selected click Save
The Role Group will now be created in LogiSense Billing
In the Okta portal if you assign people setup under the LogiSense Application to a group that has been pushed to LogiSense Billing then the corresponding user’s role in LogiSense Billing will be updated to show a SCIM role (i.e. the user will have the permissions setup for the role groups that are attached to that role)
Repeat the steps above to push more groups to LogiSense Billing
You can now configure the permissions for the role groups that you have pushed to LogiSense Billing in order to define what Okta users in those groups can do in LogiSense Billing
Login to Test SSO Integration
Log out of LogiSense Billing
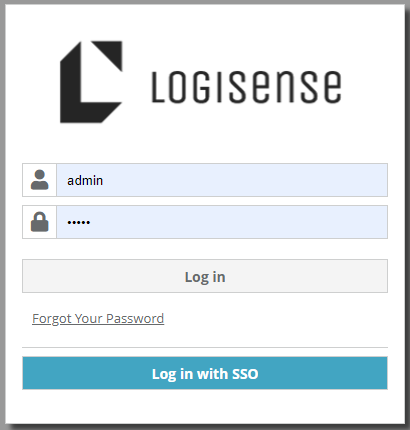
On the Login page a new Log in with SSO option will be available
Click on Log in with SSO
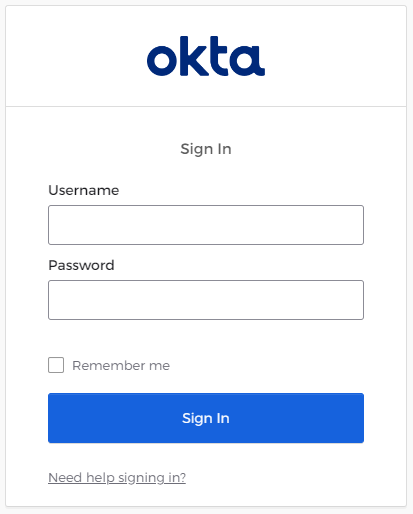
You will be redirected to the Okta login page
Enter your Okta username and password and click Sign In
After entering valid login Okta credentials you will be directed to the LogiSense Billing application and logged in
The signed in user will now be able to view/modify all of the screens in LogiSense Billing that their role group configuration permits them to access.
Azure Configuration Process
Setup a new Application in the Azure Admin Portal
Log into the Azure Portal and click on Enterprise Applications
Click on New application
Click on Create your own application
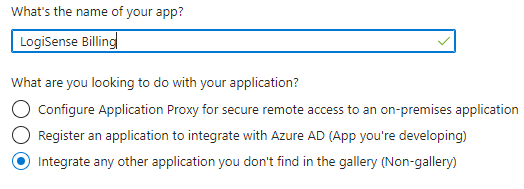
Give the new Application a Name and then select Integrate any other application you don’t find in the gallery and click Create (Note: application creation may take some time)
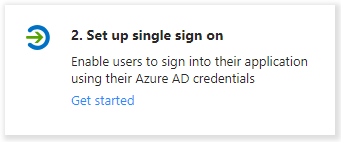
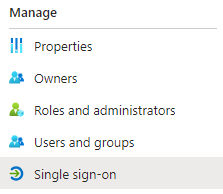
Once the application is created, click on Set up single sign on
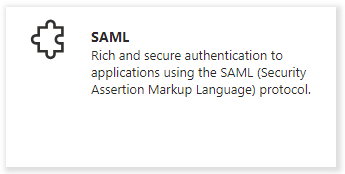
Select SAML
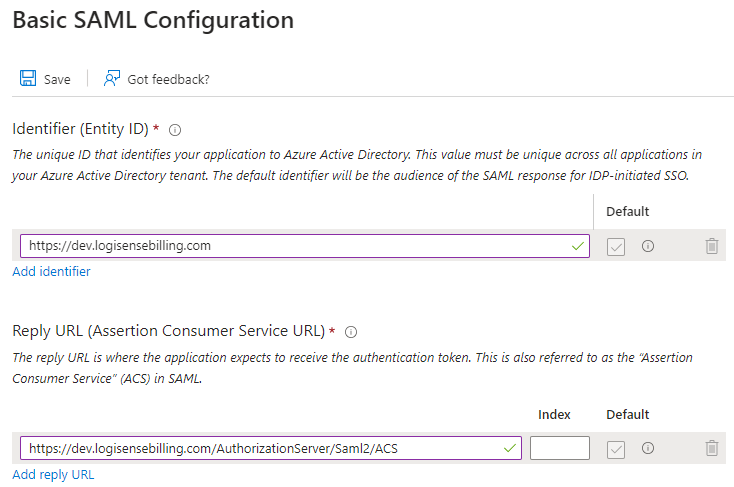
Under the Basic SAML Configuration section click Edit on the right
Enter the Entity ID (this is the URL used to access your LogiSense Billing instance)
Enter the Reply URL (this is the URL used to access your LogiSense Billing instance with the path to the AuthorizationServer appended ( e.g. https://acmebillingportal.com/AuthorizationServer/Saml2/ACS ). Note: the auth server path is case sensitive (e.g. must be Saml2, not saml2)
Click Save
Once saving is complete click the X to close the Basic SAML Configuration
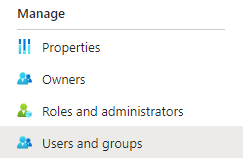
Next to set up a test user to have access to the application - click Users and Groups on the left sidebar
Click Add user/group
Add your Azure account to the application, and click Assign
Return to the Single sign on page
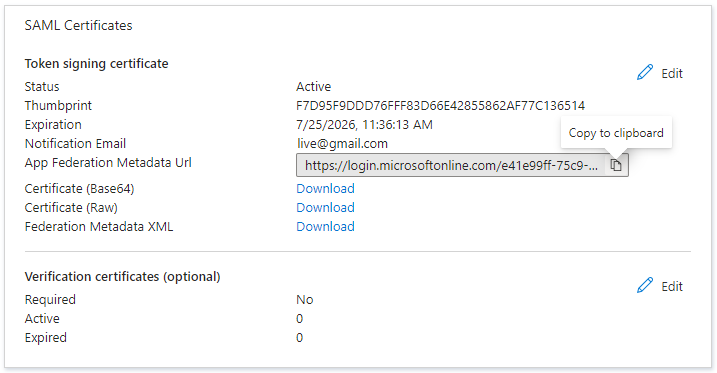
Under the SAML Certificates section copy the App Federation Metadata Url and paste it somewhere you can easily access it again (e.g. notepad or any text editor)
Under the Set up <application name> section copy the Azure AD Identifier and paste it somewhere you can easily access it again (e.g. notepad or any text editor)
Configure the SAML Settings in LogiSense Billing
Login to LogiSense Billing
Load the Setup / Users & Accounts / Owners screen
Under Owner Configuration click on SAML Setting
Click Enabled if it is not already selected
In the Entity ID field paste in the Azure AD Identifier you copied during the Application setup process
In the Provider Metadata URL field paste in the Azure APP Federation ID you copied during the Application setup process
Click the Get Token button and a token will be generated
Copy the SCIM Access Token that is generated (this will be needed as part of the SCIM Configuration below)
Click Save to save the SAML settings
Configure a SCIM Role Group in LogiSense Billing
When users are provisioned to the Application in Azure AD they will be pushed (created) in LogiSense Billing as users. The role group that the user is assigned to determine their permissions is the ‘SCIM Default’ role group (shown below).
The preconfigured SCIM Default role group in LogiSense Billing is the ‘ReadOnly’ role group. This is a core role group that grants the user read only access to all menus and screens but no rights to modify anything. SCIM users in LogiSense billing cannot have role groups deleted from their roles, so if you wish to restrict what menus and screens SCIM users can see you will need to create a new role group set with the SCIM Default option. This new role group can be setup with minimum permissions (e.g. read only access to the home screen) and then additional role groups can be assigned to the user to impart additional rights (e.g. an accounting role group can be added to the user granting read/edit access to accounts and reports).
Groups setup in Azure AD and pushed will create SCIM role groups in LogiSense Billing, so there is no need to setup additional role groups beyond the SCIM Default role group in LogiSense Billing. Instructions on how to push groups from Azure AD to LogiSense Billing are covered below in this guide.
Configure SCIM Provisioning in Azure AD
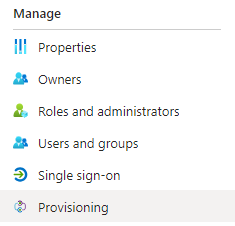
In the Azure portal access your application and click on the Provisioning link on the left sidebar
Click Get Started
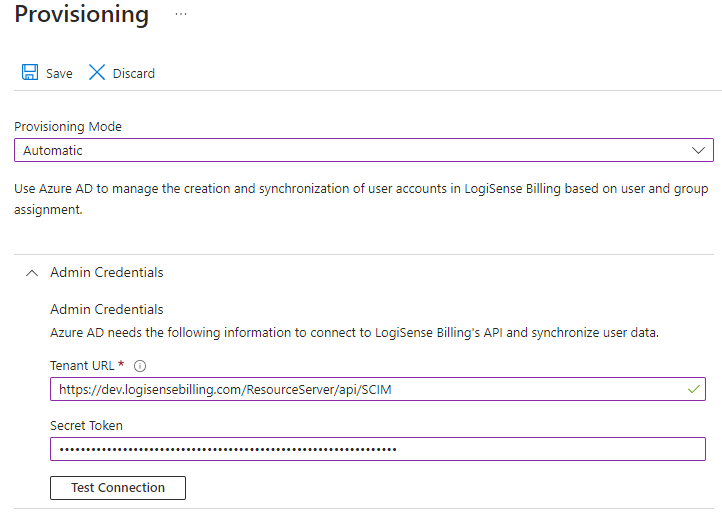
Set the Provisioning Mode to Automatic
Under Tenant URL enter the URL used to access your LogiSense Billing instance appended with the path /ResourceServer/api/SCIM
Under Secret Token enter the SCIM Access Token that was copied from LogiSense Billing
Click Test Connection to verify the Application can connect to LogiSense Billing
Click Save
Once the provisioning settings are saved click the X to close the provisioning page
Creating Users & Groups in Azure
Note: unless you manually ‘provision on demand’ the changes in Azure may take a few hours before they’re pushed to your LogiSense Billing instance.
Access the Azure portal and load your application
Click on Users and Groups on the left sidebar
Click on Add user/group
Search/select and assign an existing Azure AD user if you haven’t already added a user or test user
To test the integration provisioning the user. Access the
To test, you can force an update through the Provision On Demand tab. Access the Provisioning page using the left sidebar
Click on Provision on demand
Search for the user you wish to provision and click the Provision button
The Azure portal should display no errors and LogiSense Billing should display the new user that has been pushed to it
In the Azure portal you can follow the same process to provision additional users and groups as needed. Once these entities are created in LogiSense Billing you can configure the permissions for the role groups that you have pushed in order to define what Azure users in those groups can do in the LogiSense Billing application
Login to Test SSO Integration
Log out of LogiSense Billing
On the Login page a new Log in with SSO option will be available
Click on Log in with SSO
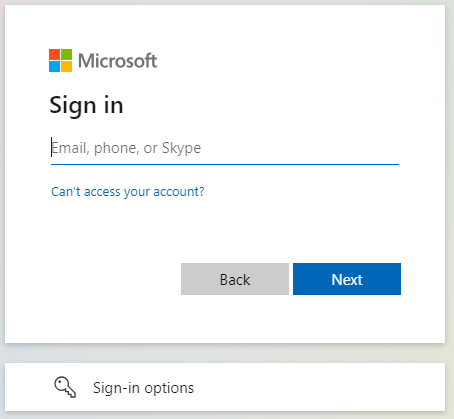
You will be redirected to the Azure login page
Enter your Azure AD email and password and click Sign In
After entering valid login credentials, you will be directed to the LogiSense Billing application and logged in
The signed in user will now be able to view/modify all of the screens in LogiSense Billing that their role group configuration permits them to access.
