The Customer Portal is included with LogiSense Billing in order to provide end customers with self-serve account management tools which they can access on any device.
Depending on the portal features you enable the Customer Portal allows:
The customer to view and cancel the products they have purchased
View and download Invoices
Make payments
Track usage
View and download reports
Configuring the Portal and Setting up Portal Users
The Customer Portal and portal settings can be configured on the Owner Configuration screen in the LogiSense Billing AdminPortal. In addition to configuring the capabilities of the portal (e.g. to allow or not allow product cancellations or payments), the portal settings also allow you to define the portal color scheme and logos.
Once the portal is enabled, portal users can be setup on accounts. This is done on the Account Settings screen in the AdminPortal.
Logging into the Customer Portal
Simply enter the Customer Portal username and password configured on the account you wish to access.
If a password is forgotten the Forgot password? feature is available on this login screen to email the portal user so that they can set a new password.
Overview
On the Overview page you are provided with basic details about the account, such as the Balance, the amount currently Due, the account’s bill day and the latest invoice number. These are real time values as they are pulled directly from the LogiSense Billing application.
Some options will appear here based on the portal configuration. For instance, in the image above the ‘Make Payment’ button is available because the Customer Portal has been configured to allow payments.
From this screen you can also download the latest account invoice in PDF format.
Profile
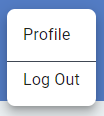
You can view the portal account profile or log out of the portal by clicking on the profile button in the upper right.
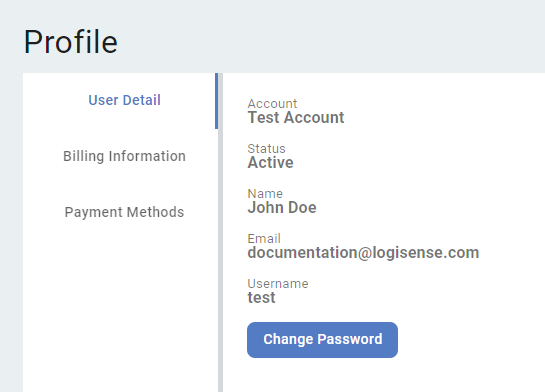
On the Profile Page that loads you can view account settings and billing information. The ability to change the portal user’s password is also presented here. Depending on the portal features enabled payment methods may also be added or modified here.
Products
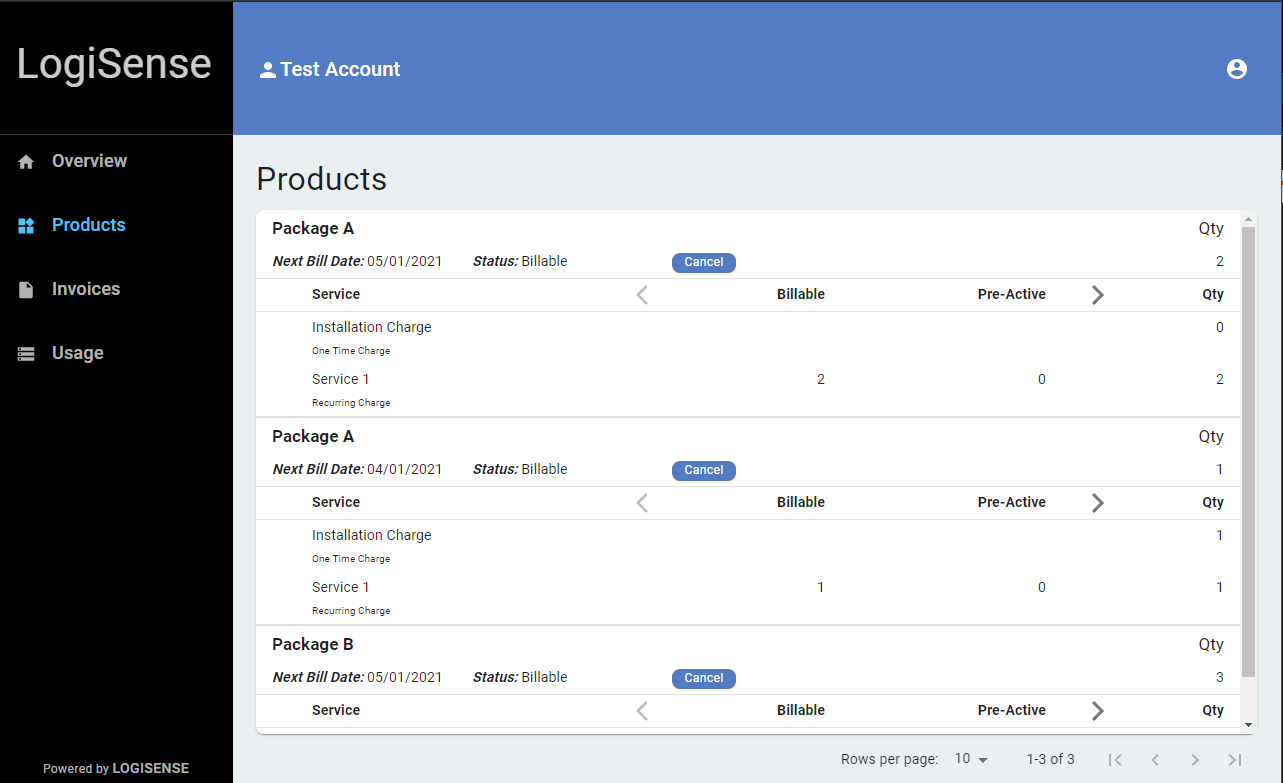
The Products page will detail the packages and services that have been added to the account and their state. The package Next Bill Date and Status will be listed here along with a breakdown of the quantities purchased for each package and service.
If product cancelation is enabled in the portal then the Cancel button will be shown, granting users the ability to cancel packages.
Invoices
The Invoices page will list invoices with an open balance on the account. If payments are permitted in the portal then the Make Payment button will be present, permitting the user to make a payment against a particular invoice. If an invoice is not selected then payments will go towards the oldest invoice with a balance first.
This screen also lists basic account details such as the account Balance and amount Due. The Invoice details columns are sortable and invoices can be downloaded as pdf’s as well.
After making a successful payment in the portal the account Balance value will be immediately updated to reflect the payment made.
Usage
The Usage page will list any usage for the current period, and allow you to view usage for past periods as well by clicking on the Select Period list.
If usage has occurred in the period the Product the usage relates to will be listed along with the Usage Identifier and the Total Used usage.
Viewing Child Accounts
If the account you are currently accessing in the Customer Portal has child accounts then a ‘Change Account’ option will be shown bellow the current account name.
Clicking Change Account will pop-up an account search and selection feature. From here you can select a child account in order to view it.
The child account will display similar details to the parent (the packages present on the child account, etc.). But the Overview page will also note that the parent account is configured to be invoiced for subscription and usage charges for the child account.
Logging Out
To log out of the Customer Portal simply click on the profile icon in the upper right and select Log Out.


