The LogiSense Billing user interface is a single page application which allows you to configure the system, management manage accounts, generate reports and more. This article will walk you through the basic aspects of the UI.
| Info |
|---|
Note: Depending on your user’s role permissions you may not see all of the menus and UI options listed below. |
...
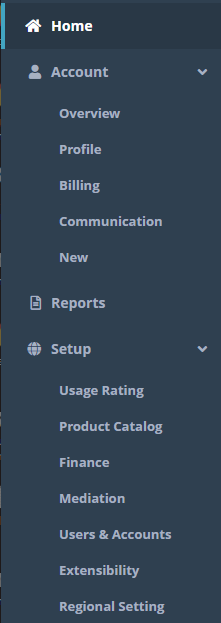
The Navigation Menu which allows you to navigate to an account’s settings, generate and view reports, configure the system (products, usage rates, etc.) and access system operation and developer tools
The Search bar which allows you to search for accounts setup in the system or find services on accounts by searching for a usage identifier setup on the service
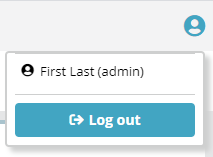
The Nav Icons which permit you to logout of the system, access application help related to the current screen and perform quick functions such as adding a note to account you have loaded. Note: the Add Note ‘Add Note’ option will be greyed out if you have not loaded an account
The Screen Tabs which indicate the current screen you are viewing ('Home' in this case) and additional screens that can be accessed on the menu you have loaded
Screen Layout and Details
...
Above is an example of a screen loaded in the application, in this case the Account / Profile / Packages screen. The menu and screen you are currently viewing is easily determined by glancing at the navigation menu on the left (Account / Profile in this case) and the currently selected tab in the screen tab section towards the upper right (Packages in this case).
...
The area defined as a ‘Screen’ in the application is all of the content minus the menu, search, nav icons and screen tabs described in the previous section of this document. The Account Packages screen by itself without these elements is shown in the image below.
...
The rest of the Account Packages screen follows a standard that you will find on most screens in the application. A list panel on the left shows entities that are currently configured (in this case 'Package A ‘Package A’ has been added to the Test Account). Key details on each entity in the list are shown in list panels, in this case the detail exposed is the Package Name, ID, Package Frequency (Monthly) and Next Bill Date.
...
The edit panel will indicate what values cannot be modified by displaying those values in purple text.
...
Values which are required will be noted by a red stripe on the left hand side of the field.
...
Modifying a value will result in the ‘[Modified]’ notification appearing in the panel as well as any modified value highlighted in orange. In this case the Status ‘Status’ value was switched to ‘Non-billable’ and so it is highlighted in orange text letting you know that its is the value that has been changed.
Modified settings will not be implemented until you click the Save button at the bottom of the edit panel, so you can make multiple edits as needed before applying the changes.
...


