Summary
<<briefly describe the configuration process outlined in this guide>>
<<for additional details on the fields presented on this screen see the the [[screen help link]] guide>>
Prerequisites
<<configuration that must be done prior to following this process. E.g. ‘Services need to be configured’>>
Sample Configuration
Enabling Auto-Pay on a Bill Run
Bill runs can be setup to automatically collect payments due for accounts processed by the bill run. The payment methods setup on accounts will need to have the ‘Auto-Pay’ option enabled in order for payment to be collected when the bill run executes. See the Payments Example guide for instructions on how to enable the Auto-Pay setting on a payment method.
For additional details on the fields presented on the bill run screen see the bill run screen help.
Prerequisites
Currency exchange rates must be configured before bill runs can be setup
Bill groups need to be setup in order to specify which accounts a bill run will bill
One or more payment gateways must be configured in order to perform payment collection
Sample Configuration
Enabling Auto-Pay on a Bill Run
To setup automatic payment collection on a bill run do the following:
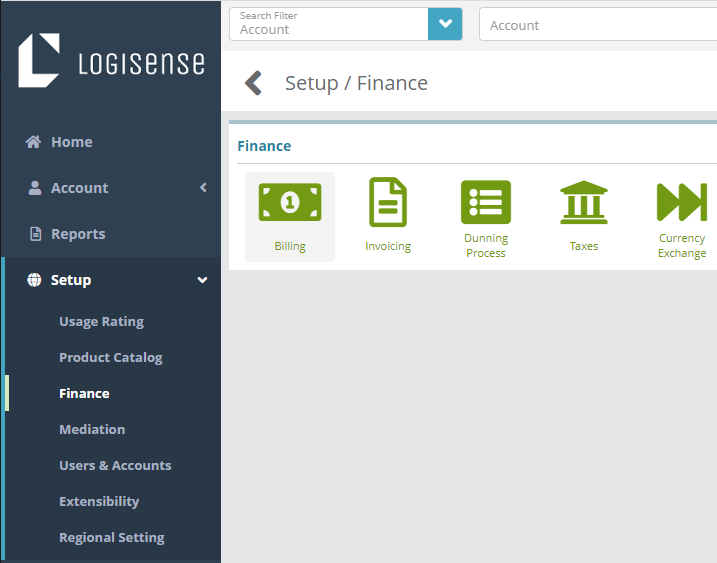
Navigate to the bill runs screen under Setup / Finance / Billing / Bill Run
Select the Bill Run bill run that you want to configure for Automatic Payment automatic payment processing on
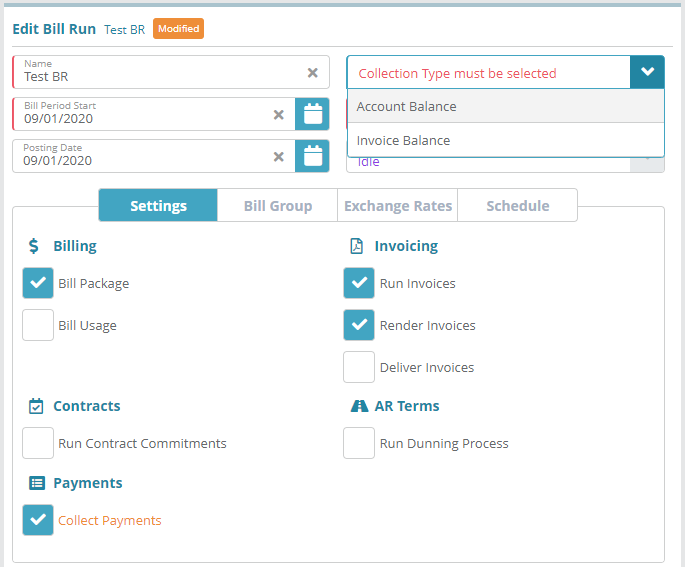
Under the Edit Bill Run panel enable Collect Payments and the Collection Type option will appear. Select if you wish to collect payment based on the Account Balance amount or the Invoice Balance amount
Click Save to commit the changes to the bill run
Whenever the Bill Run executes, it will now automatically collect payments from each account that has an active Payment Method with the Auto Pay option checked
Result
<<demonstrate that the configuration setup above is now functional (e.g. can be added to other screens)>>
Next Steps
<<documentation team task: link to next configuration article>>
Related Guides
<<documentation team task: link to API guide which covers the same config process>>
...


