...
Log into the LogiSense Billing application
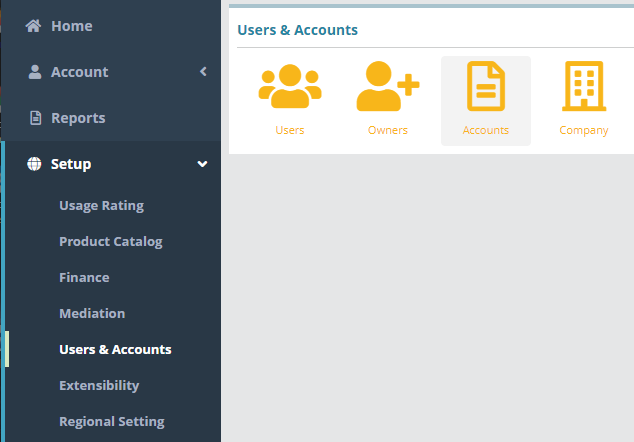
Click on the Setup menu, Users & Accounts and then Accounts
Under Accounts click on the Status Types tab in the upper right
Under the Account Status Types heading, click the
 icon to add a new account status type
In the Add Account Status Type section populate the settings as follows:
Name ‘PreActive’
Default enabled (automatically set this status on the Add New Account screen)
Status as ‘Non-Billable’ (so that charges don’t apply to an account in a PreActive status)
Prevent Changes unchecked (so that the account can be modified while in the PreActive status)
Click Save to add the status type
Result
Once saved, the PreActive status will be the default value in the Status field when adding a new account.
Account / New screen
...
Next Steps
Once account status types are configured you can define the contacts types that accounts can contain. See the Contact Types Configuration Example for an example of how to setup a contact type


