...
Log into your LogiSense Billing application
Click on the Setup menu, User & Accounts and then Owners
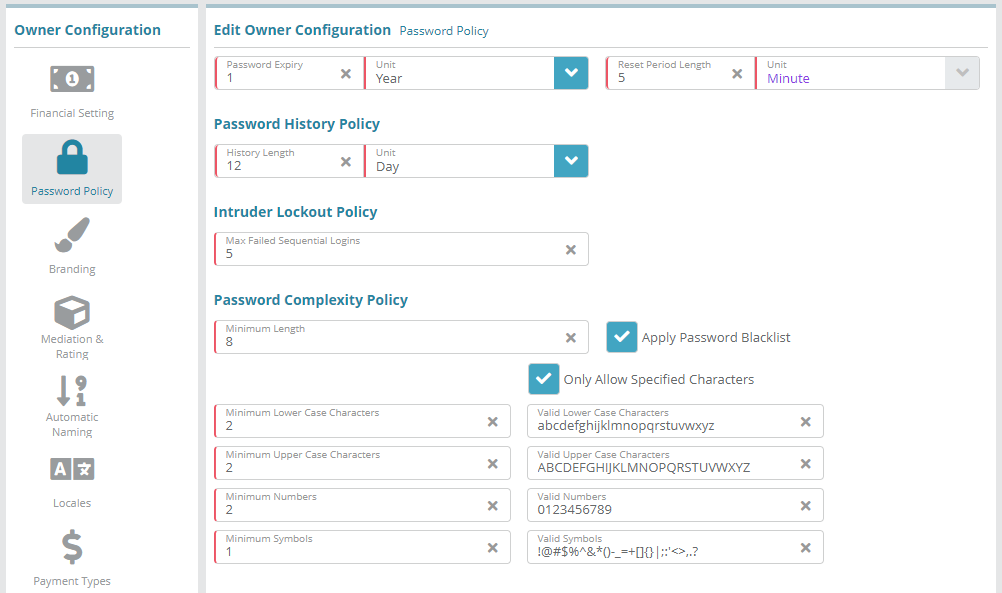
On the owner screen that loads click on the Password Policy tab on the left
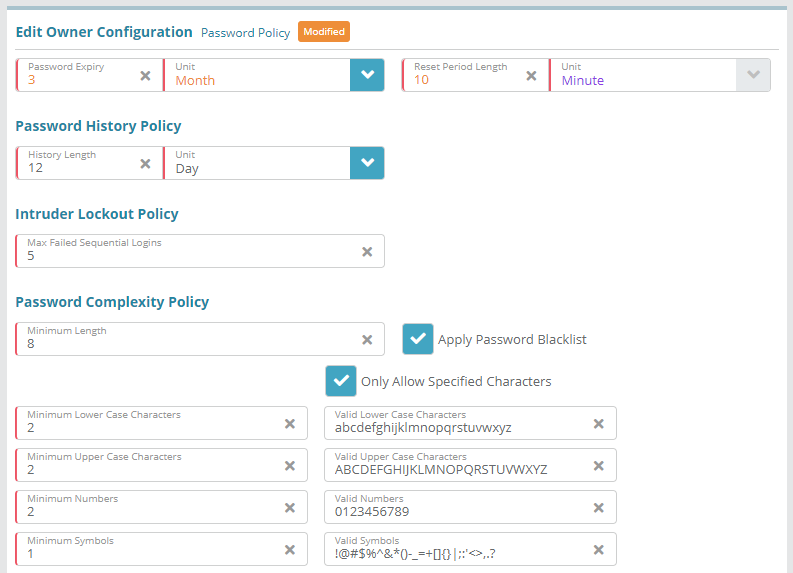
Adjust the password policy as needed. For example, you could set passwords to expire every quarter and adjust the ‘Reset Period Length’ (lockout after too many failed logins) to 10 minutes. The image below shows these sample adjustments
When you have finished making adjustments to the policy click Save to commit your changes
Result
<<demonstrate that the configuration setup above is now functional (e.g. can be added to other screens)>>When setting a password on a user the system will adhere to the policy you have defined.
...
Next Steps
Optional: Branding the UI with your company logos can be performed next, see the Branding Configuration Example article for instructions. This step is not an essential base configuration step and can be performed at a later time if desired
Optional: you can define custom invoice and credit note numbering schemes if desired. See the Automatic Naming Configuration Example article for instructions
Optional: if you wish to define custom payment types you can do so now or at a later date. See the Payment Types Configuration Example for instructions on how to add a payment type
Optional: if you need to integrate the LogiSense Billing application with an external payment gateway you can do so. See the Payment Gateway Configuration Example for instructions on how to configure a gateway. This step is not an essential base configuration step and can be performed at a later time if desired
SMTP settings need to be configured so that users you setup can be emailed. See the SMTP Settings Configuration Example for instructions on how to setup and test SMTP Settings


