Summary
This guide covers the process of adding a custom Payment types are the methods that an account can use to make payments. This guide will provide an example on how to add a 'Check' custom offline payment type in the LogiSense Billing application.
Offline payment types are used to record payments in the application, they do not trigger payment processing through a gateway when they are used to make a payment.
Configuration Steps
Log into the LogiSense Billing Application
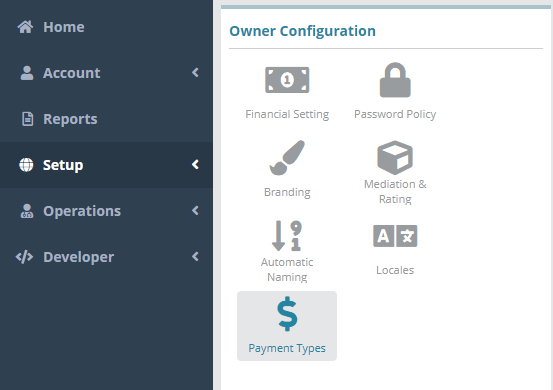
Navigate to Setup>Users & Accounts>Owner>Configuration Setup / Users & Accounts / Owner / Configuration
Select the Payment Types
...
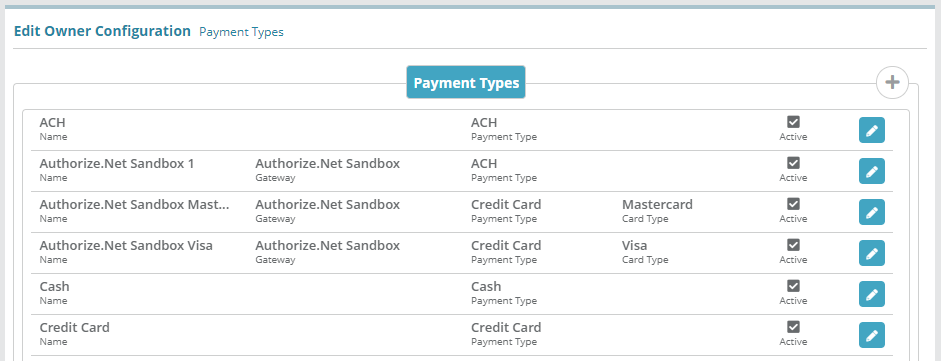
3. Click in the Add + icon
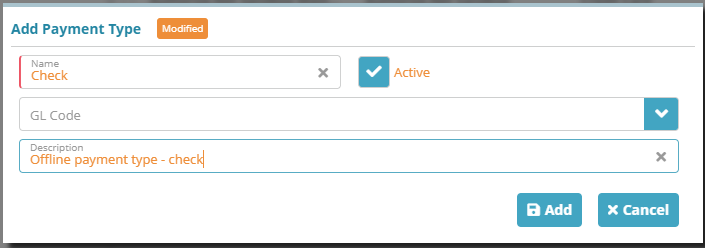
4. The following fields will be displayed on the Add payment Type popup
5. Click on the update Button
6. Save the added Information
Result
Custom Payment Method is saved
Next Steps
Navigate to an Account
Navigate to account>Billing>Payment screen
Select the Record payment icon
...
option on the left
In the Edit Owner Configuration Payment Types section click the
 to the right of the Payment Types tab
On the Add Payment Type modal that loads give the payment type a Name, and enable it. Optionally you can assign a GL Code to the type and a description
Click Add and the payment type will be staged for addition (listed in orange with the other payment types)
Click Save and the Check payment type will be added as an active payment type
Result
The custom payment type ‘Check’ can now be used to record a payment on an account.
Account / Billing / Payment screen
...


