Summary
Dunning rules allow you to define the events which are triggered when account invoices become overdue. Available options include sending emails, applying fees and changing account statuses. Dunning rules execute during bill runs, but only if the 'Run Dunning Process' setting is enabled on the bill run.
...
For additional details on the fields presented on the dunning rules screen see the Dunning Rules Screen screen help article.
Prerequisites
To configure levels on dunning rules you must have at least one active service with a service type base type of 'Fee' setup
To configure notification actions on levels you must have at least one email template setup
Sample Configuration
Adding a Dunning rule
Log into the LogiSense Billing application
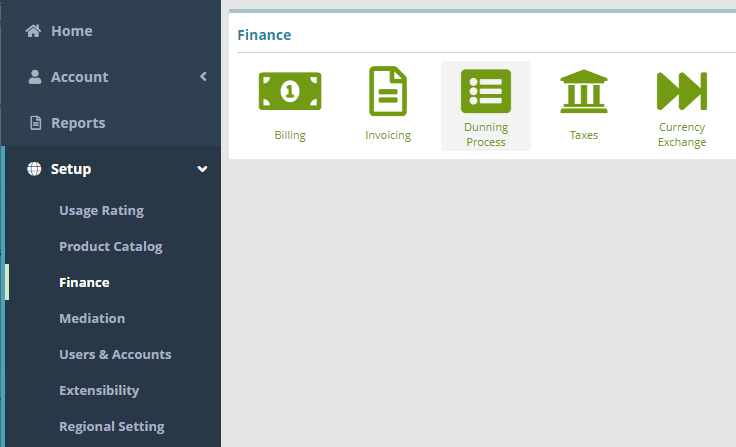
Click on the Setup menu, Finance and then Dunning Process
Click on the Dunning Rules tab in the upper right
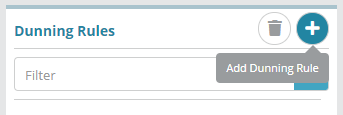
Under the Dunning Rules heading click the
 button to add a dunning rule
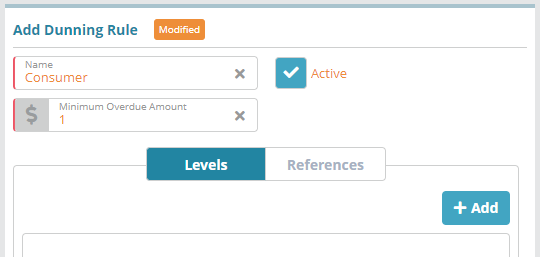
Under the Add Dunning Rule heading give the dunning rule a Name (e.g. 'Consumer')
Check the Active checkbox to enable the dunning rule
Specify Minimum Overdue Amount as 1
Load the Levels tab and click the + Add to add a level to the dunning rule
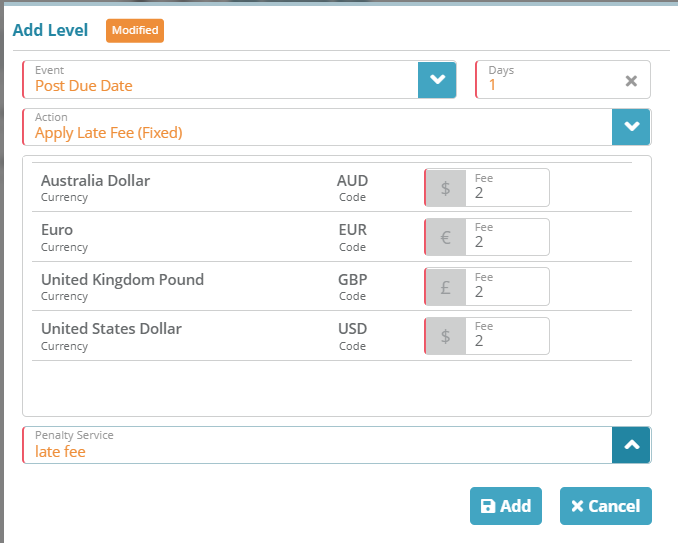
Enter the Event value as Post Due Date
Enter Days as 1
Enter the Action as Apply Late Fee (Fixed)
Add the Fee of for each currency
Select the penalty service (note: this list will only show services that are setup with a service type of ‘Fee’)
Click on Add to add the level to the dunning rule
Click on Save to add the new dunning rule
Result
Once the dunning rule is created it can be configured on Accounts Receivable Terms which apply to accounts.
...
Account / Billing / Transactions
...
Next Steps
Accounts receivable terms are required in order to setup accounts in the system. See the Accounts Receivable Configuration Example article for details on how to configure AR Terms


